How to Partition Your Windows Drive and Why It Matters
Did you know you can divide your computer's storage into separate drives without installing another hard disk?
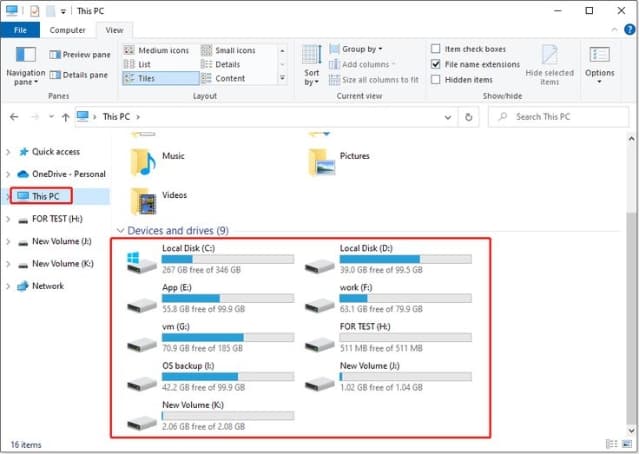
For example, if your computer has one 238GB drive, you can partition it into:
💻 C: Drive → Windows and installed applications 📂 D: Drive → Personal files, documents, projects, videos and other data
How to partition your drive in Windows 11
- Press Windows + X
- Select Disk Management
- Right-click Local Disk (C:)
- Select Shrink Volume
- Enter how much space you want to remove from C:
- Click Shrink
- You will see Unallocated Space
- Right-click the unallocated space
- Select New Simple Volume
- Follow the wizard and assign it a drive letter such as D:
- Format it as NTFS
That's it. You now have another partition.
Why partition your drive?
Better organization: Keep Windows and applications separate from your personal files.
Easier file management: Your documents, projects and other data can have their own dedicated space.
Windows management: If you eventually need to reinstall Windows, keeping personal data on another partition can make the process easier. However, a partition on the same physical disk is not a backup.
Better use of existing storage: You can organize one physical drive into multiple logical drives without buying another disk.
⚠️ Important: Partitioning changes your disk structure. Back up important files before doing it, and don't shrink C: so aggressively that Windows runs out of working space.
You don't always need a bigger hard drive.
Sometimes, you just need to organize the storage you already have.
#TechTips #Windows11 #ITSupport